Halloween How-To
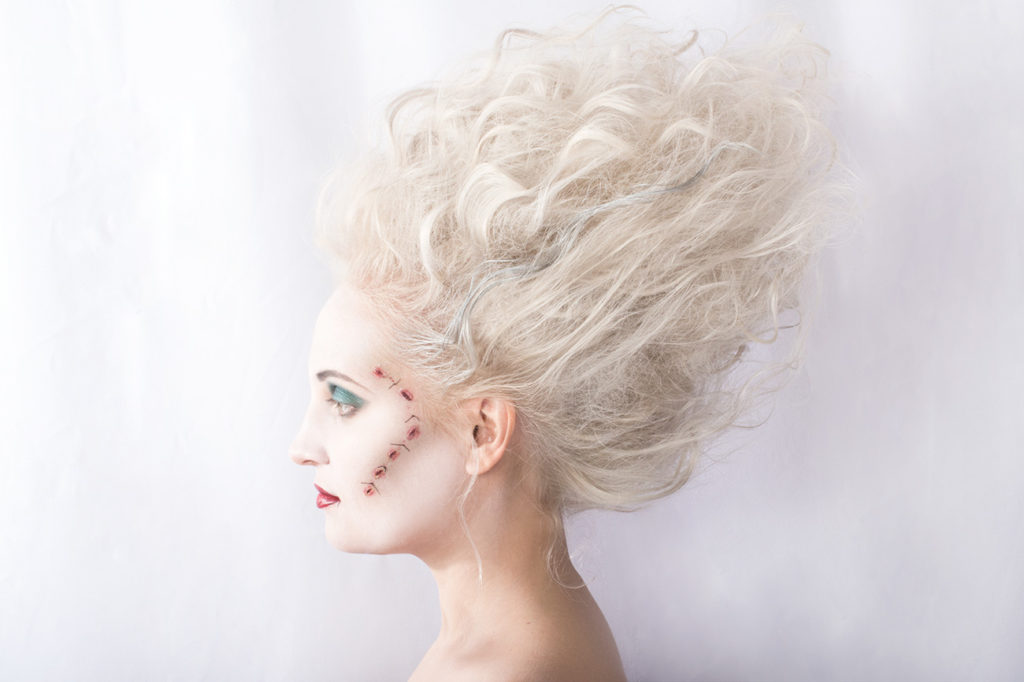
Bride of Frankenstein
Model: Kristine
Photographer: Tan
Hair and Makeup by Mia & Michelle for Betsy Elisa Inc

1. Start with a clean, moisturized face.


2. Use a paint stick, such as MAC Cosmetics Paint Stick in Pure White, as the base for your look. Be sure to evenly apply the paint across your face, excluding the eyes and lips.

3. Create a deep contour under the cheekbone area after applying the white base.


4. Apply a dark bold shadow across the entirety of the eyelid, and use a deep dark shadow to define the brows. We used Urban Decay’s Shadow Box Eye Palette to create the effect of sunken eyes and defined brows to further enhance our glam frankenbride look.

5. Using an eyelash glue like Duo’s Striplash Glue (pictured above), create what will be the base of your stitch lines, along the path of your deep contour.


6. Allow the glue some time to dry; Using a red pencil, like M·A·C’s Basic Red, to draw small “blood” lines in the center of each glue line. Follow up by coating the entire glue strip with a thick fake blood (Ben Nye’s Thick Blood pictured above).

7. Create series of knots along a thread line, and cut the thread into sectioned pieces. Use a small amount of the eyelash glue beneath the centered knot of the thread to apply them along the glue lines, and complete the stitching effect.

7. Finish the look by apply a blood-red lip; we used a color from M·A·C Pro Lip Palette in Editorial Reds to complete our Bride of Frankenstein Face.

8. Create the final touch to complete the entire look by lightly curling, and then teasing your hair to stand up on your head. Generously apply hairspray as you go, to ensure the hair remains in the desired position.

Happy Halloween!
Follow us on Instagram and Facebook for more BE beauty, and stay tuned for more events and more by subscribing on our home page!

0 Comments on "13 Days of Halloween: Day Two, How-To"